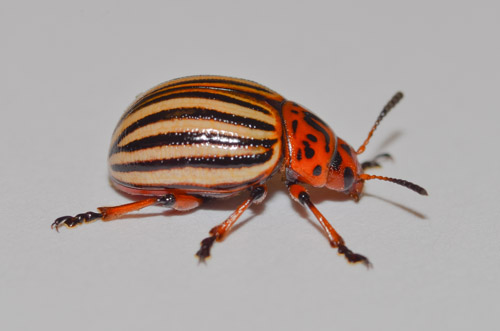
I find that when I photograph a insect against a white background like a sheet of paper the photo will have a light grey background rather than a perfect white (R-100%, G-100%, B-100%). While the photo looks fine by itself when it is presented against a white background like that of this site or a photosite like flickr the light grey background of the photo can look quite dingy by comparison, as in the photograph above.
As you may have noticed I have recently tweaked several of my past insect photos to give them a truly white background. I thought I would share this quick and easy Lightroom tweak to get white backgrounds.
Step 1
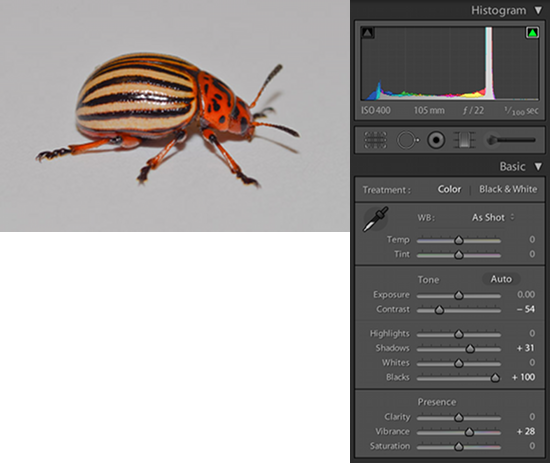
Take your original image and develop as normal. In this case I’ve added some sharpening, increased the vibrance, and modified the exposure to lighten up some of the shadows (This would be less important with a more diffuse light source).
Step 2
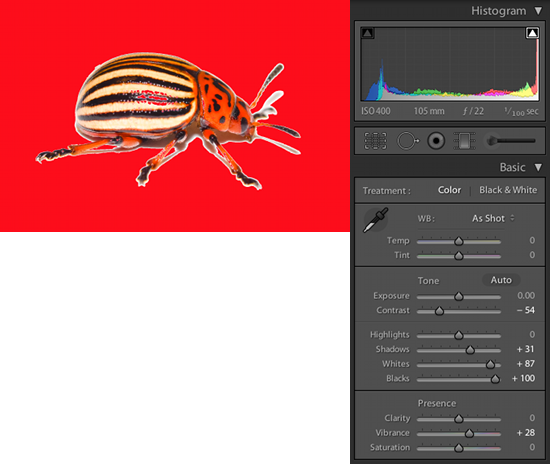
Next check the little box in the top right of the “Histogram”. This will show blown out highlights or area that are completely white (R-100%, G-100%, B-100%) in red. We then want to slide the “Whites” bar to the right until the entire background of the photo is red.
Step 3
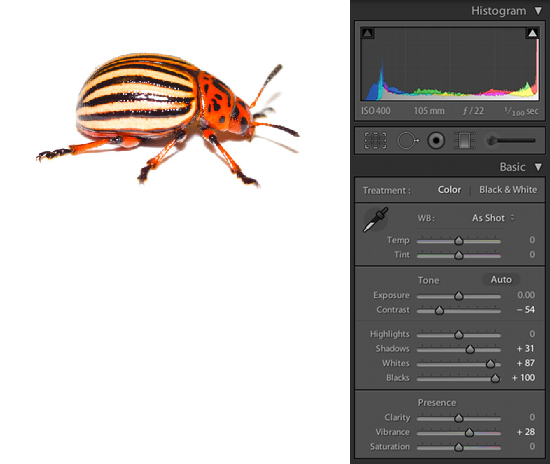
We now have a background but the adjustment with the “Whites” bar has overexposed some of the lighter areas of the insect. To correct this we will make use of the “Tone Curve” which has no effect on these perfectly white areas.
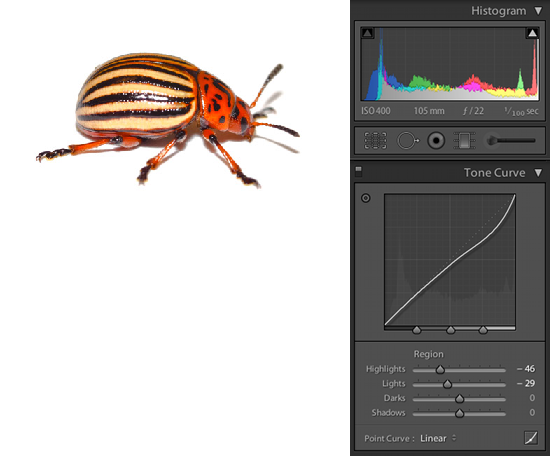
With some downward adjustment of the “Highlights” and “Lights” bars we can correct the exposure of the insect to give us a correctly exposed insect and a perfectly white background.
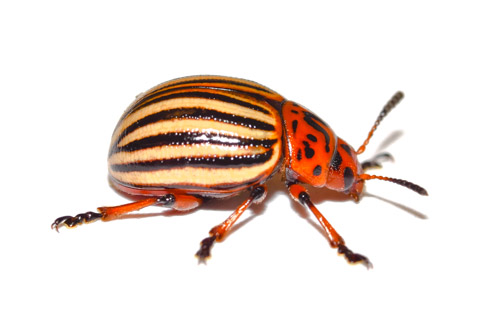
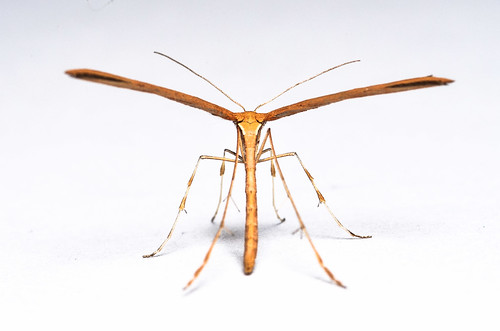
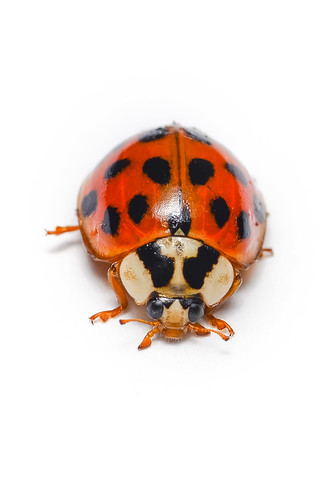
Mouse over the above image to see the minimal changes in the exposure of the insect between the original photo and the final edit. In addition you will find below a slideshow of example photos using this technique.





Follow Me